Circle Sayings-Cheerful Daisies Thank You Card
Show your appreciation with this thank you message using the Circle Sayings and Cheerful Daisies sets from Stampin’ Up!
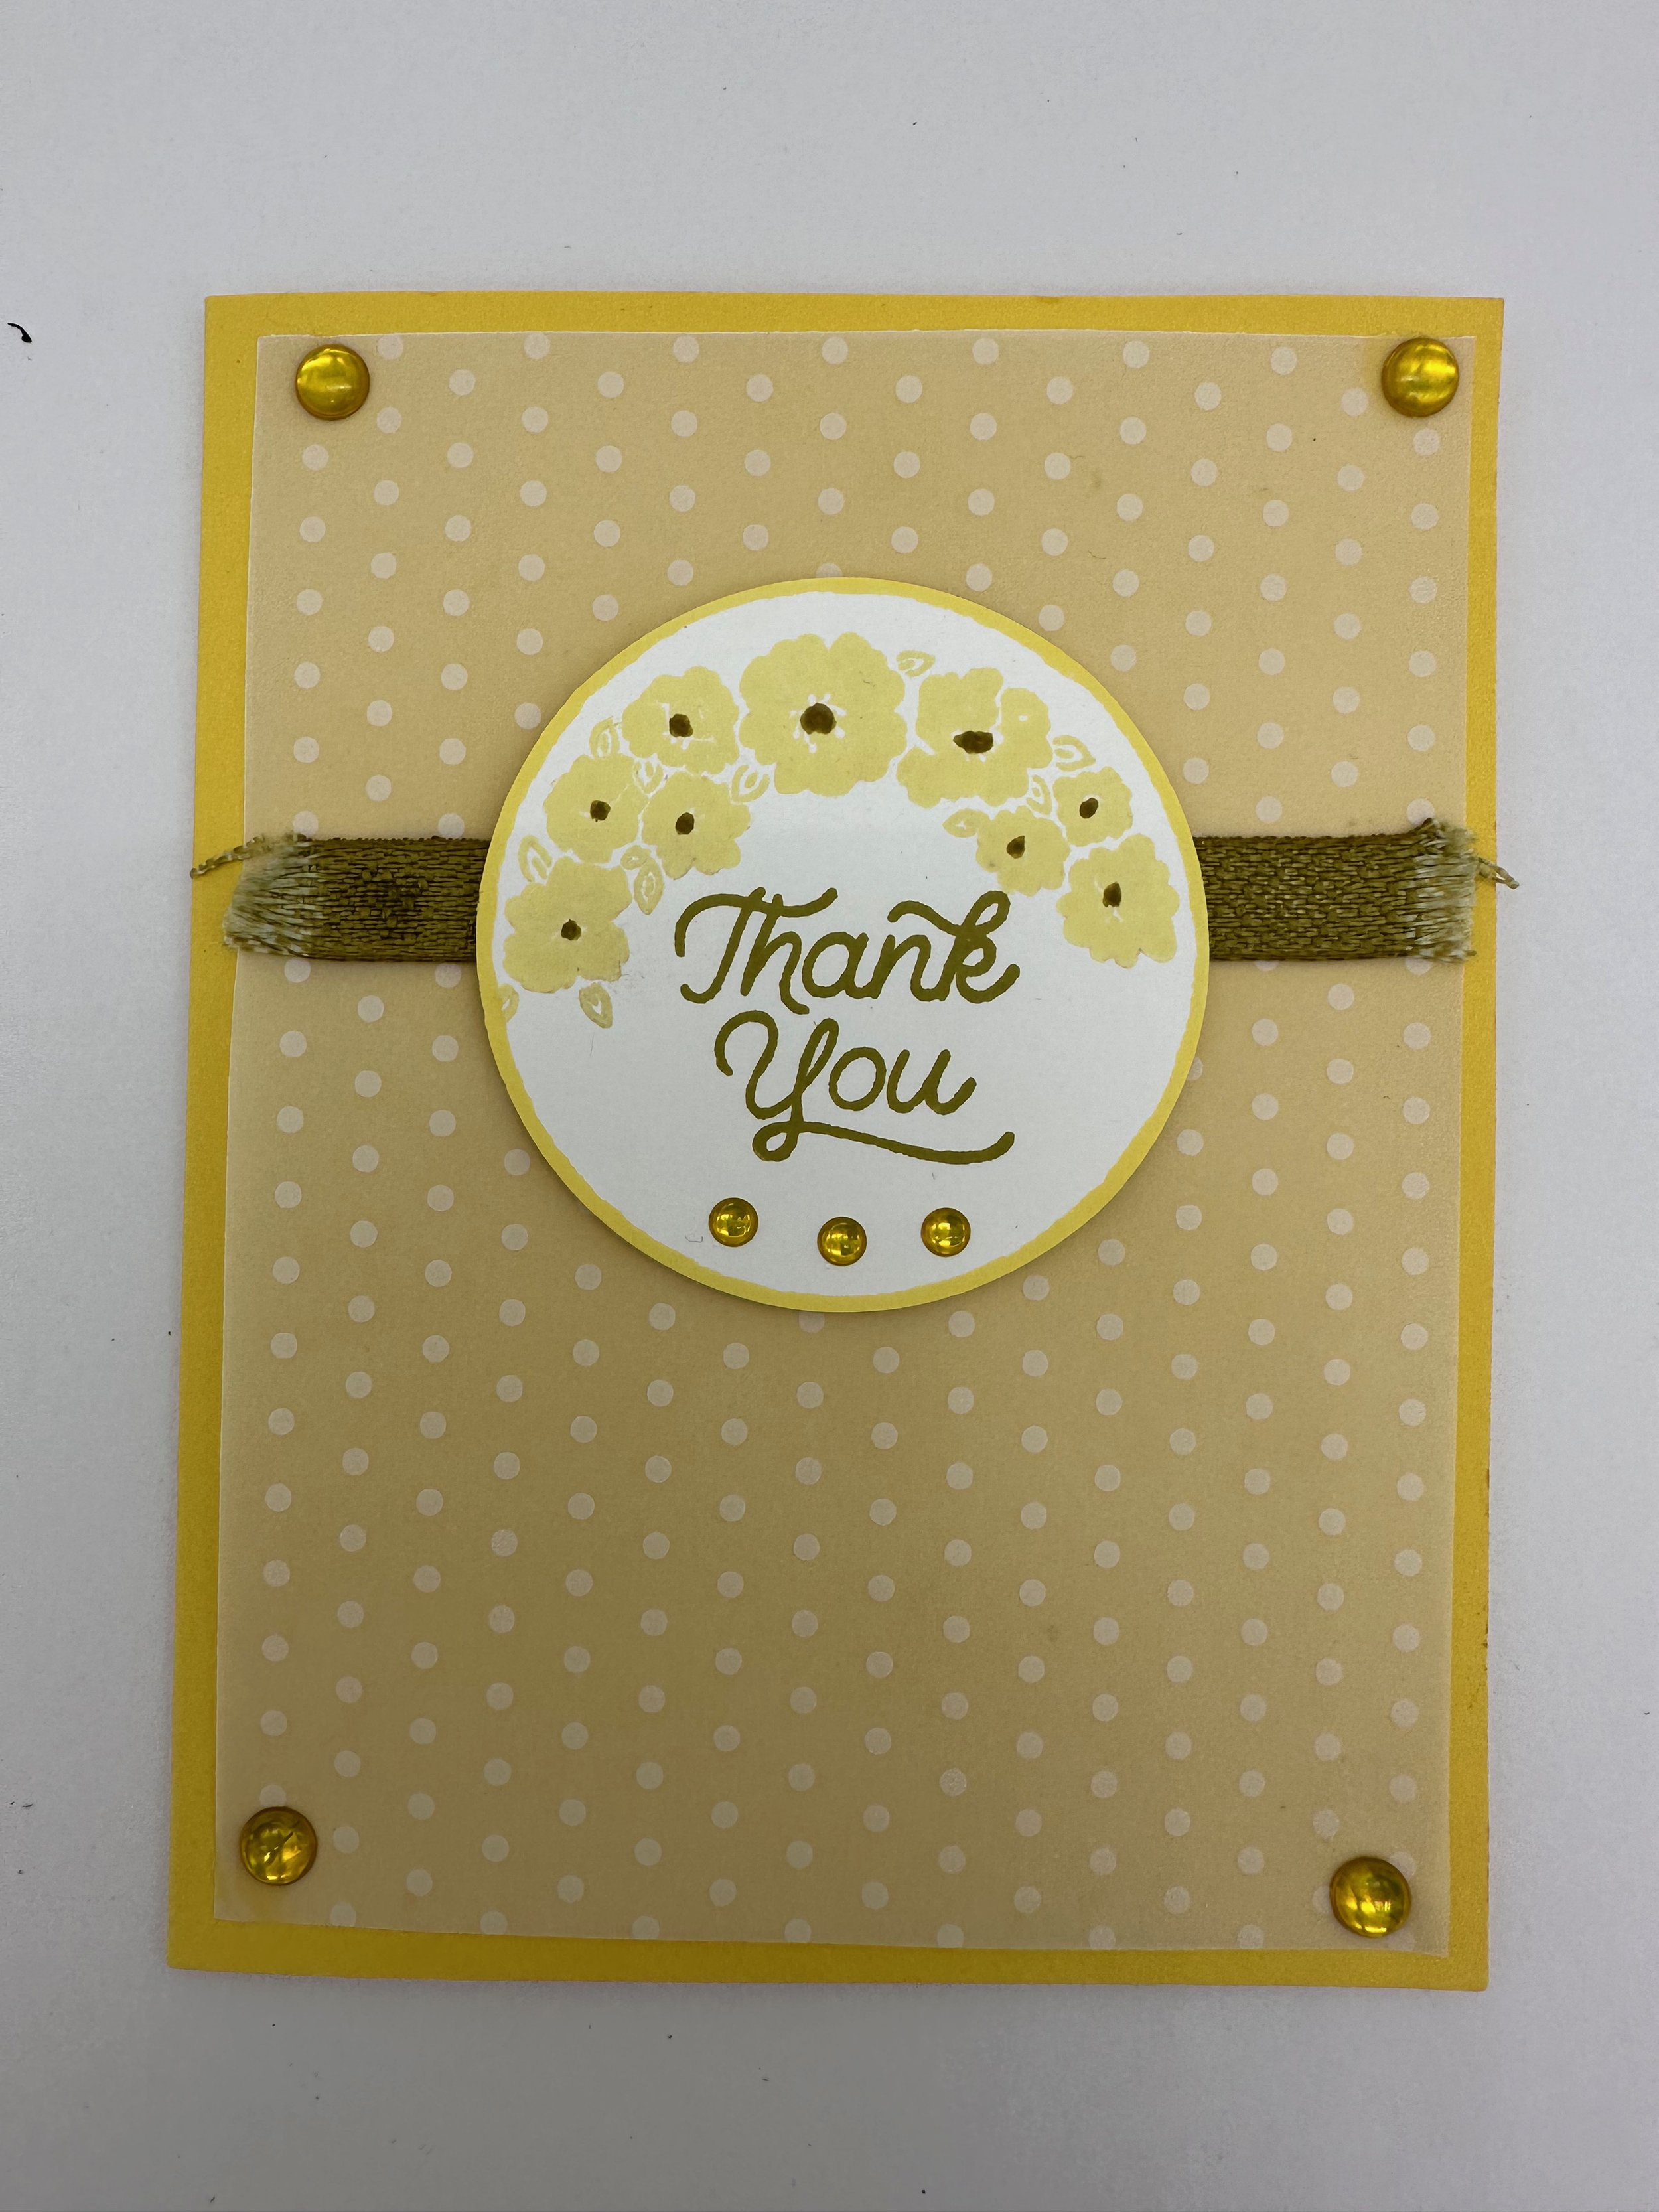

Circle Sayings-Cheerful Daisies Thank You Card
Supplies and Measurements…
• Daffodil Delight Cardstock, 8 ½”x 11”
o Circle Sayings-Cheerful Daisies Thank You Card
Supplies and Measurements…
• Daffodil Delight Cardstock, 8 ½”x 11”
o Cut at 5 ½”
o Score at 4 ¼”
• Vellum Basics (polka dot pattern), 5 ¼” x 4”
• Basic White Cardstock,
o 5 ¼” x 4” or inside of card
o Scrap to punch 2 3/8” circle
• Classic Stampin’ Ink Pads:
o Daffodil Delight
o Wild Wheat
• Wild Wheat Blends Pen
• Glossy Dots
• Wild Wheat Textured Ribbon
• Multipurpose Liquid Glue or other adhesive of choice
• Stampin’ Dimensionals
Tools…
• Circle Sayings and Punch Bundle
• Cheerful Daisies Stamp Set
• Clear Block D
• Paper Trimmer
• Paper Snips
• Bone Folder
• Stampin’ Scrub
• Stampin’ Mist
• Silicone Craft Sheet
Instructions…
• Cut and score cardstock as indicated. Use the bone folder to burnish the score
line to create a crisp fold.
• Using Daffodil Delight ink, stamp the 5 ¼” x 4” Basic White cardstock with the
group of small daisies from the Cheerful Daisies stamp set. Color the flower
centers with the Wild Wheat Blends. Adhere this panel to the inside right panel of
the card.
• Adhere the 5 ¼”x 4” Basic Vellum to the card front. Place adhesive in each of the
four corners of the vellum and about 2/3 of the way up from the bottom of the
card. Since adhesive shows through vellum, placing the adhesive where it will be
hidden by embellishments is important.
• Punch a circle from the scrap piece of Basic White. Using Daffodil Delight ink,
stamp the semi-circle of flowers from the Circle Sayings stamp set. Use the Wild
Wheat Blends to create the flower centers. Stamp “Thank You” from the Circle
Sayings in Wild Wheat ink centered below the semi-circle of flowers. Gently role
the edges of the circle in the Daffodil Delight ink to create a small border around
the circle.
• Cut a 4-inch piece of Wild Wheat Textured Ribbon. Adhere it to cover the
adhesive used to adhere the vellum to the card front. An optional finish is to fray
the ends of the ribbon for a fringe effect, if you like.
• Using Stampin’ Dimensionals, adhere the stamped circle centered on the Wild
Wheat Textured Ribbon.
• Embellish your card with Daffodil Delight Glossy Dots. Place a large dot in each
corner, covering the adhesive in each corner. Place three small dots in a curved
row at the bottom of the circle.Cut at 5 ½”
o Score at 4 ¼”
• Vellum Basics (polka dot pattern), 5 ¼” x 4”
• Basic White Cardstock,
o 5 ¼” x 4” or inside of card
o Scrap to punch 2 3/8” circle
• Classic Stampin’ Ink Pads:
o Daffodil Delight
o Wild Wheat
o Mossy Meadow
• Wild Wheat Blends Pen
• Glossy Dots
• Wild Wheat Textured Ribbon
• Multipurpose Liquid Glue or other adhesive of choice
• Stampin’ Dimensionals
Tools…
• Circle Sayings and Punch Bundle
• Cheerful Daisies Stamp Set
• Clear Block D
• Paper Trimmer
• Paper Snips
• Bone Folder
• Stampin’ Scrub
• Stampin’ Mist
• Silicone Craft Sheet
Instructions…
• Cut and score cardstock as indicated. Use the bone folder to burnish the score
line to create a crisp fold.
• Using Daffodil Delight ink, stamp the 5 ¼” x 4” Basic White cardstock with the
group of small daisies from the Cheerful Daisies stamp set. Color the flower
centers with the Wild Wheat Blends. Adhere this panel to the inside right panel of
the card.
• Adhere the 5 ¼”x 4” Basic Vellum to the card front. Place adhesive in each of the
four corners of the vellum and about 2/3 of the way up from the bottom of the
card. Since adhesive shows through vellum, placing the adhesive where it will be
hidden by embellishments is important.
• Punch a circle from the scrap piece of Basic White. Using Daffodil Delight ink,
stamp the semi-circle of flowers from the Circle Sayings stamp set. Use the Wild
Wheat Blends to create the flower centers. Stamp “Thank You” from the Circle
Sayings in Wild Wheat ink centered below the semi-circle of flowers. Gently role
the edges of the circle in the Daffodil Delight ink to create a small border around
the circle.
• Cut a 4-inch piece of Wild Wheat Textured Ribbon. Adhere it to cover the
adhesive used to adhere the vellum to the card front. An optional finish is to fray
the ends of the ribbon for a fringe effect, if you like.
• Using Stampin’ Dimensionals, adhere the stamped circle centered on the Wild
Wheat Textured Ribbon.
• Embellish your card with Daffodil Delight Glossy Dots. Place a large dot in each
corner, covering the adhesive in each corner. Place three small dots in a curved
row at the bottom of the circle.